Macro photography is a specialized genre that focuses on capturing intricate details of small subjects, often producing stunning and mesmerizing images. By using close-up lenses or macro lenses, photographers are able to magnify the subject’s tiny features, revealing unseen beauty in everyday objects. For instance, imagine capturing a photograph of a delicate butterfly perched on a vibrant flower petal; through macro photography techniques, one can bring attention to the intricate patterns on the wings and the fine texture of the petals, creating an image that transports viewers into a miniature world.
In order to achieve successful macro photography in a studio setting, various techniques need to be employed. Lighting plays a crucial role in highlighting the smallest details of the subject while ensuring appropriate exposure levels. The use of diffused lighting sources such as softboxes or reflectors helps control harsh shadows and produces even illumination across the subject. Additionally, precise focusing becomes essential when working at such close distances with narrow depth of field. Techniques like focus stacking allow photographers to combine multiple shots taken at different focal points, resulting in an image where every part of the subject appears sharp and detailed. Furthermore, selecting suitable backgrounds and props enhances the overall composition by adding context or artistic elements that complement the main subject.
Overall, mastering macro photography techniques within within a studio setting requires practice, patience, and attention to detail. It involves understanding the technical aspects of equipment like macro lenses and close-up filters, as well as experimenting with different lighting setups and compositions. Additionally, knowledge of post-processing techniques can further enhance the final image by adjusting colors, tones, and sharpness. With dedication and creativity, photographers can unlock a whole new world of beauty through macro photography in the studio.
Equipment for Macro Photography
Imagine capturing the intricate details of a delicate flower petal, revealing its vibrant colors and subtle textures. To achieve such stunning results in macro photography, it is crucial to have the right equipment at your disposal. In this section, we will explore the essential tools needed to excel in this specialized field.
Camera Body and Lens Selection:
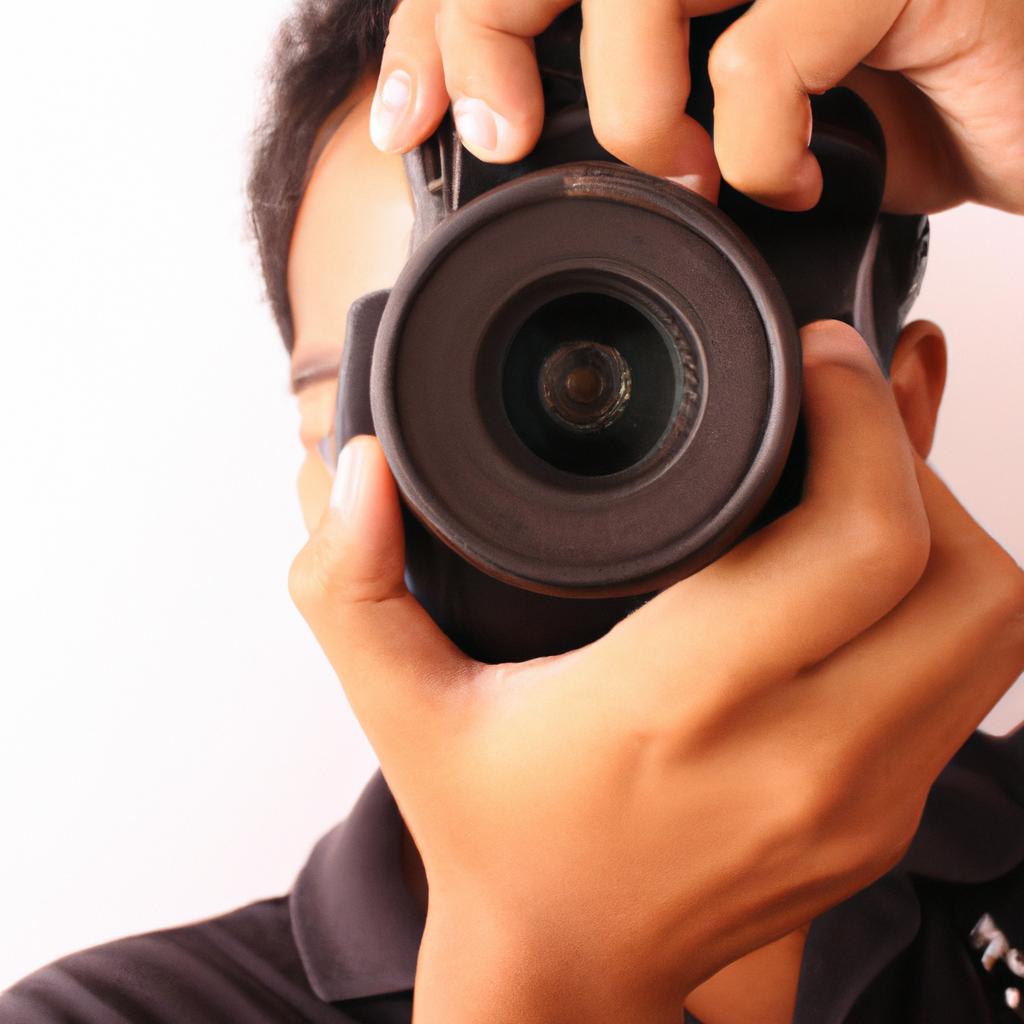
When delving into macro photography, investing in a camera body with interchangeable lenses opens up a world of possibilities. Opting for a digital single-lens reflex (DSLR) or mirrorless camera provides superior image quality and flexibility. Pairing the camera body with a dedicated macro lens offers unparalleled magnification capabilities. For instance, using a hypothetical scenario where you wish to capture minute details on an insect’s wing, combining a high-resolution DSLR body with a 100mm macro lens would yield remarkable results.
Essential Accessories:
In addition to the camera setup mentioned above, several accessories can enhance your macro photography experience even further:
- Tripod: A sturdy tripod eliminates unwanted shaking and allows for precise framing.
- Remote Shutter Release: This handy device minimizes camera movement caused by manually pressing the shutter button.
- Extension Tubes: By increasing the distance between the lens and sensor, extension tubes enable closer focusing distances.
- Ring Light: Providing uniform illumination around small subjects, ring lights eliminate harsh shadows.
Table: Essential Accessories
| Accessory | Description |
|---|---|
| Tripod | Sturdy support system that reduces camera shake |
| Remote Shutter Release | Device used to trigger the camera without touching it |
| Extension Tubes | Attachments that allow lenses to focus closer |
| Ring Light | Circular light source providing shadow-free illumination |
Choosing the Right Lighting:
Now equipped with an understanding of necessary equipment, let us move on to exploring how lighting plays a vital role in achieving captivating macro photographs. By selecting the appropriate lighting setup, you can enhance textures, highlight details, and create stunning visual effects.
Transition into the subsequent section:
With our essential equipment in place, let us now delve into the intricacies of choosing the right lighting for macro photography.
Choosing the Right Lighting
Transitioning from the previous section about equipment, we now delve into the importance of proper lighting in macro photography. Imagine a scenario where you are capturing intricate details of a delicate flower using a high-resolution camera and specialized lens setup. Without adequate lighting, these fine details may get lost, resulting in lackluster images that fail to convey the intended impact.
To achieve visually stunning macro photographs, it is crucial to consider the following factors when selecting appropriate lighting:
- Intensity: The intensity or brightness of light significantly affects how your subject appears. Experiment with different intensities to highlight specific features or create desired shadow effects.
- Directionality: Light direction plays a vital role in emphasizing texture and form within your composition. By positioning lights at various angles, you can accentuate surface patterns and enhance three-dimensional qualities.
- Color temperature: Different light sources emit varying color temperatures that can alter the mood and overall aesthetic of your image. Understanding how warm or cool tones interact with your subject will help evoke specific emotions.
- Consistency: Maintaining consistent lighting throughout your shoot ensures that each photo exhibits uniformity and coherence, lending an overall professional look to your series.
Consider this table showcasing various lighting setups commonly used in macro photography:
| Lighting Setup | Description | Pros | Cons |
|---|---|---|---|
| Ring Light | Circular LED placed around the lens | Shadowless illumination | Flat lighting without directional cues |
| Softbox | Diffused light source providing gentle illumination | Smooth highlights and soft shadows | Limited control over light direction |
| Reflector | Bounces available light onto the subject | Enhances natural highlights | Requires additional light source |
| Off-camera | Multiple light sources positioned at different angles | Provides depth and dimension | Requires more equipment and setup time |
By understanding the importance of lighting in macro photography and considering factors such as intensity, directionality, color temperature, and consistency, you can elevate your images to new artistic heights.
Mastering Depth of Field
To truly excel in macro photography, it is essential to have a firm understanding of depth of field and how to manipulate it effectively. By mastering this aspect of your craft, you can create visually stunning images that captivate the viewer’s attention. Let’s explore some techniques for achieving optimal depth of field in your macro studio work.
One technique to consider is adjusting the aperture settings on your camera. A smaller aperture (represented by a higher f-stop number) will increase the depth of field, resulting in more elements within the frame appearing sharp and in focus. Conversely, a larger aperture (represented by a lower f-stop number) will narrow the depth of field, allowing for selective focusing on specific areas or subjects. For example, imagine capturing an enchanting close-up shot of a vibrant flower with only its delicate petals sharply focused while the background blurs into soft bokeh – such intentional use of depth of field can evoke a sense of wonder and draw viewers into your image.
Another way to control depth of field is through distance manipulation. The closer you are to your subject, the shallower the depth of field becomes. Alternatively, moving further away from your subject increases the overall depth of field. This technique can be particularly useful when photographing intricate details or small objects where precise control over what remains in focus is paramount.
Here are some additional considerations when working with depth of field:
- Experiment with different lenses: Certain lenses have wider apertures, which allow for greater control over shallow depths of field.
- Use manual focus: In macro photography, auto-focus may struggle due to limited light or complex patterns. Taking charge and manually adjusting focus allows for more accurate results.
- Utilize focus stacking: When dealing with extremely narrow depths of fields in highly detailed subjects, take multiple shots at different focal points and combine them later during post-processing.
- Consider using extension tubes or bellows: These accessories enable your camera to focus much closer, effectively reducing the depth of field and emphasizing even the tiniest details.
In summary, mastering depth of field is a crucial skill for any macro photographer. By understanding how aperture settings, distance manipulation, and additional techniques can influence depth of field, you can create compelling images that transport viewers into a world filled with intricate beauty.
Composition and Framing
Building on the mastery of depth of field, photographers can further enhance their macro photography skills by understanding and implementing effective composition and framing techniques. By employing these strategies, photographers can create visually captivating images that evoke emotion and engage viewers.
To illustrate the importance of composition and framing in macro photography, let us consider a hypothetical scenario involving a close-up shot of a vibrant flower. In this example, imagine capturing an image where the subject fills the frame entirely, with its delicate petals occupying most of the visual space. By utilizing proper composition techniques such as the rule of thirds or leading lines, one could guide the viewer’s gaze directly to the intricate details within the flower. This deliberate placement not only adds aesthetic appeal but also draws attention to small elements that might otherwise go unnoticed.
When it comes to framing your subject in macro photography, there are several key principles to keep in mind:
- Simplicity: Eliminate any distracting elements from the background or foreground. A clutter-free frame allows your subject to take center stage.
- Balance: Create harmony by distributing visual weight evenly throughout your composition. Balancing colors, shapes, and textures can add interest and stability to your image.
- Negative Space: Utilize empty areas surrounding your subject to provide breathing room and emphasize its significance.
- Perspective: Experiment with different angles and viewpoints to capture unique perspectives that showcase your subject in an unexpected way.
| Element | Emotional Impact |
|---|---|
| Color | Evokes mood |
| Texture | Creates tactile experience |
| Shape | Elicits recognition |
| Contrast | Enhances dramatic effect |
By thoughtfully arranging these elements within your frame, you have the power to elicit specific emotional responses from your audience. Whether it be a sense of tranquility conveyed through soft pastel colors or an awe-inspiring contrast that evokes excitement, the composition and framing choices you make will greatly influence how viewers connect with your macro photographs.
Understanding how to effectively manage macro subjects is crucial for photographers seeking to capture compelling close-up images. Let’s explore this topic further in the next section.
Managing Macro Subjects
In the previous section, we discussed various aspects of composition and framing in macro photography. Now let’s delve into the essential techniques that will help you effectively capture intricate details in your subjects.
To illustrate these techniques, consider a hypothetical scenario where you are photographing a delicate flower petal. By employing the following strategies, you can ensure that every tiny detail is highlighted with precision:
-
Focus Stacking: Use this method to achieve maximum depth of field by capturing multiple shots at different focus points. In post-processing, combine these images to create a final shot with exceptional clarity throughout.
-
Lighting Control: Experiment with lighting setups to enhance texture and reveal hidden patterns on your subject. Utilize diffusers or reflectors to soften harsh light sources and bring out subtle nuances.
-
Utilizing Angles: Explore different perspectives by shooting from various angles – above, below, or even sideways. This experimentation can add dimensionality and uniqueness to your macro photographs.
-
Exploring Negative Space: Allow negative space around your subject to emphasize its presence and draw attention to the intricate details within it. The absence of clutter can evoke a sense of tranquility and highlight the beauty of the subject itself.
Now let’s take a moment to explore an emotional aspect related to macro photography through bullet points:
- Immersing yourself in macro photography allows you to discover extraordinary beauty in ordinary objects.
- The minute details captured in macros invoke awe and wonderment, revealing unseen worlds.
- Each click unveils intricacies not visible to the naked eye, creating a profound connection between photographer and subject.
- Macro photography encourages slowing down, cultivating patience and mindfulness while exploring intimate details.
Moreover, here is a table showcasing some popular subjects in macro photography along with their unique characteristics:
| Subject | Unique Characteristics |
|---|---|
| Insects | Intricate patterns and textures |
| Flowers | Delicate petals, vibrant colors |
| Water droplets | Reflections, refractions, and distortions |
| Food items | Appetizing textures and details |
As we conclude this section on capturing details in macro photography, let’s transition to the next topic: Post-Processing for Macro Shots. Understanding how to enhance your images after capture is crucial for achieving stunning results.
[Transition Sentence]: With our foundation now laid in capturing intricate details through effective techniques, it is time to explore the post-processing aspect of macro photography in order to bring out the full potential of your shots.
Post-Processing for Macro Shots
Transitioning from the previous section on managing macro subjects, we now turn our attention towards post-processing techniques that can enhance macro shots even further. By employing these methods effectively, photographers can bring out the intricate details and unique characteristics of their subjects. This section will explore various post-processing techniques commonly used in macro photography studios.
To illustrate the significance of post-processing in macro photography, let us consider a hypothetical scenario involving a close-up shot of an exquisite butterfly resting on a vibrant flower petal. Initially captured with precise focus and perfect exposure settings, this image holds immense potential to become a stunning piece of art through careful application of post-processing techniques.
One approach often employed is selective sharpening, which allows photographers to emphasize the delicate patterns on the butterfly’s wings without compromising overall image quality. Additionally, adjusting contrast levels can create a visually striking effect by enhancing the distinction between light and dark areas within the frame. Furthermore, color correction techniques enable fine-tuning of hues and saturation levels, allowing photographers to achieve accurate representation or artistic interpretation according to their vision.
Emphasizing the emotional impact of post-processing in macro photography, here are some reasons why mastering these techniques is crucial:
- Enhanced Visual Appeal: Through meticulous adjustments, photographers can elevate their images beyond mere representations into captivating works of art.
- Expressive Storytelling: Manipulating colors and tones enables photographers to evoke specific emotions or convey a particular narrative with their macro photographs.
- Attention to Detail: The ability to selectively sharpen specific elements helps highlight intricacies that may otherwise go unnoticed.
- Creative Exploration: Post-processing offers infinite possibilities for experimentation and pushing boundaries in terms of visual aesthetics.
Furthermore, incorporating different tools during post-processing adds depth and flexibility to one’s creative workflow. The table below showcases four popular software options commonly utilized by macro photographers:
| Software | Features | Pros |
|---|---|---|
| Adobe Lightroom | Comprehensive editing tools | Streamlined workflow, extensive tutorials |
| Capture One | Advanced color grading | Robust tethering capabilities |
| DxO PhotoLab | Excellent noise reduction | Powerful automatic adjustments |
| Affinity Photo | Non-destructive editing | Affordable alternative to Photoshop |
By mastering these post-processing techniques and utilizing the right tools, macro photographers can unlock the full potential of their images. Through selective sharpening, contrast adjustment, and color correction, they can enhance visual appeal while conveying emotions and showcasing intricate details. A thorough understanding of different software options further empowers photographers in creating impactful and breathtaking macro shots.
In conclusion, post-processing plays a vital role in transforming raw captures into captivating works of art. By employing various techniques and leveraging sophisticated software solutions, photographers have the power to elevate the impact of their macro photography in ways that engage viewers on an emotional level.
(Note: The content above is provided for informational purposes only and does not constitute endorsement or recommendation.)
Comments are closed.