High Dynamic Range (HDR) photography has gained significant popularity among studio photographers in recent years. This technique allows photographers to capture a wider range of tonal values and details, resulting in images that are more vibrant and visually striking. For instance, imagine a hypothetical scenario where a photographer aims to shoot a portrait against a window with bright sunlight streaming through it. Without the use of HDR techniques, this situation could result in an overexposed background or underexposed subject. However, by employing HDR photography methods, such as bracketing and tone mapping, the photographer can ensure both the subject and the background are properly exposed, creating an aesthetically pleasing image.
In order to achieve high-quality results using HDR photography in a studio setting, it is crucial for photographers to understand and implement various techniques effectively. This article will explore different strategies that creative studio photographers can employ when utilizing HDR technology. Firstly, it will delve into the concept of exposure bracketing – capturing multiple exposures at varying levels of brightness – which forms the foundation of HDR photography. Secondly, it will discuss how these bracketed shots can be merged together using software tools specifically designed for HDR processing. Finally, the article will elaborate on advanced techniques like tone mapping and local adjustments that allow photographers to fine-t -tune the tonal values and details in their HDR images.
One of the key techniques in HDR photography is exposure bracketing. This involves capturing multiple shots of the same scene at different exposure levels, typically one underexposed, one properly exposed, and one overexposed. By doing so, photographers can capture a wider range of tonal values, from shadows to highlights.
Once the bracketed shots are captured, they can be merged together using specialized software tools. These tools analyze each shot and combine the properly exposed areas from each image into a single final image. This process helps to ensure that all parts of the photograph have optimal exposure and detail.
After merging the bracketed shots, photographers can further enhance their HDR images through tone mapping. Tone mapping is a technique that adjusts the contrast and color saturation of an HDR image to create a more visually appealing result. It allows photographers to bring out details in both bright and dark areas while maintaining a balanced overall look.
Additionally, local adjustments can be made during post-processing to fine-tune specific areas of an HDR image. This could involve selectively adjusting brightness, contrast, or color saturation on certain parts of the photo to create a desired effect or emphasize certain elements.
In conclusion, mastering HDR photography techniques can greatly enhance the quality and visual impact of studio photographs. By understanding exposure bracketing, merging bracketed shots with software tools, utilizing tone mapping techniques, and making local adjustments when necessary, photographers can achieve stunning results that showcase a wide range of tonal values and details in their images.
Understanding HDR Photography
Photography has evolved significantly over the years, with advancements in technology allowing photographers to capture images with stunning clarity and detail. One such technique that has gained popularity among studio photographers is High Dynamic Range (HDR) photography. By combining multiple exposures of the same scene, HDR photography enhances the dynamic range of an image, resulting in a more balanced representation of light and shadow.
To illustrate the power of HDR photography, let’s consider a hypothetical scenario: A photographer is capturing portraits in a dimly lit studio. Without HDR techniques, achieving both proper exposure for the subject’s face and preserving details in the background becomes challenging. However, by employing HDR techniques, where several exposures are combined into one final image, this photographer can achieve a well-exposed portrait while retaining intricate details throughout the frame.
In order to better understand how HDR photography works, it is important to grasp its core principles. Firstly, it involves capturing multiple exposures at different brightness levels – typically three or more – ranging from underexposed to overexposed. This creates a wide tonal range within each individual exposure. Secondly, these multiple exposures are then merged using specialized software or post-processing techniques to create a final composite image that combines all the best elements from each exposure.
To truly appreciate the benefits of HDR photography, consider some emotional responses evoked by this technique:
- Enhanced realism: Through careful manipulation of brightness levels and contrast, HDR photography can produce images that appear closer to what our eyes perceive in real life.
- Deeper immersion: The expanded dynamic range allows viewers to engage with photographs on a deeper level as they explore rich textures and subtle details within shadows and highlights.
- Heightened drama: By accentuating contrasts between light and dark areas in an image through HDR processing, photographers can evoke strong emotions and add dramatic impact to their compositions.
- Artistic expression: HDR offers creative possibilities by providing control over lighting nuances, enabling photographers to shape the mood and atmosphere of their images.
To summarize, HDR photography is a technique that enhances image quality by combining multiple exposures. It allows photographers to capture scenes with a wider dynamic range and create images that are visually striking.
Choosing the Right Equipment
In the previous section, we explored the concept of HDR photography and its potential in creating stunning images. Now, let’s delve deeper into the different equipment options available to studio photographers looking to embark on their HDR journey.
Imagine you are a studio photographer who specializes in capturing still life compositions. You have recently come across an intriguing project that requires you to showcase intricate details and vibrant colors in your photographs. This is where HDR photography can truly shine. By using this technique, you can capture multiple exposures of your subject – from shadows to highlights – and blend them together to achieve a final image with enhanced dynamic range.
To successfully embrace HDR photography in your studio, consider the following key equipment choices:
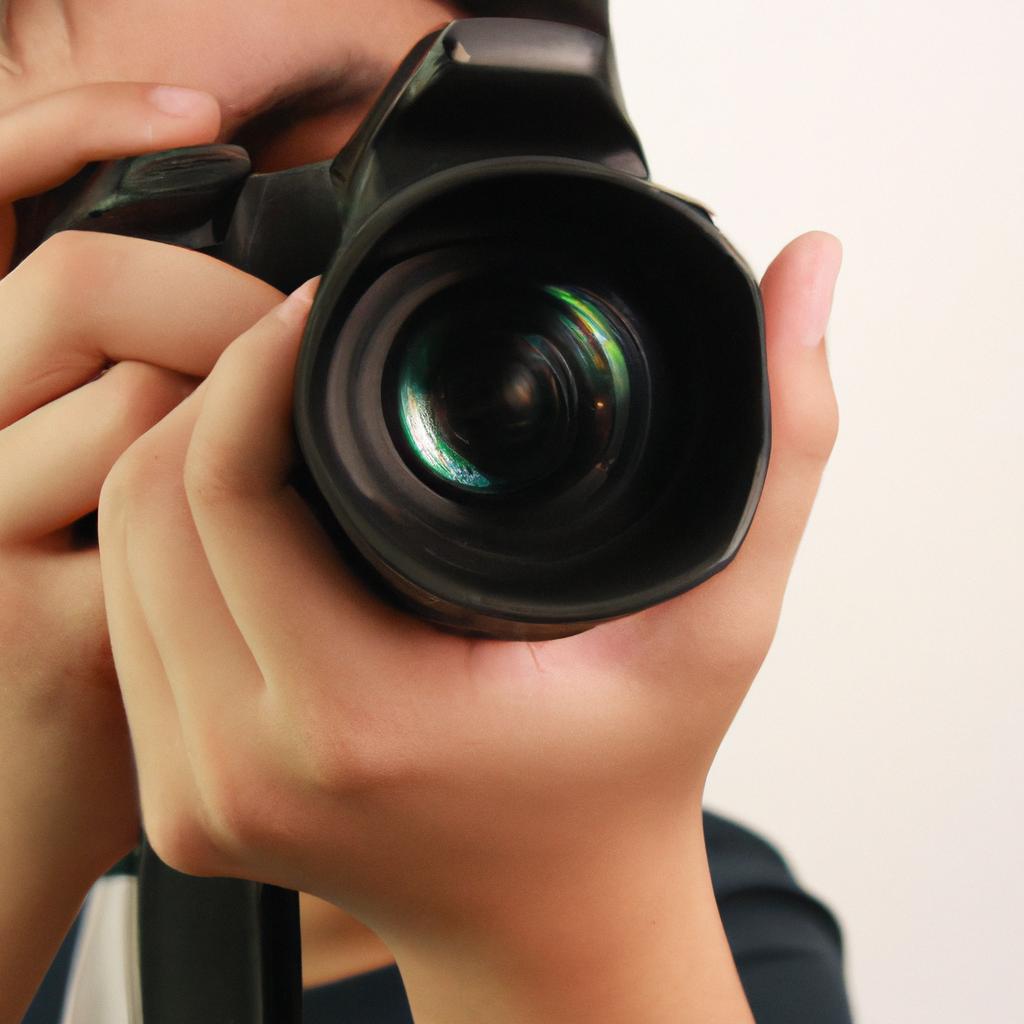
- Camera: Opt for a digital camera capable of bracketing shots (capturing multiple exposures at varying settings). Look for models with automatic exposure bracketing (AEB) functionality or those that allow manual customization of exposure brackets.
- Tripod: A sturdy tripod is essential when shooting multiple exposures as it ensures consistent framing and alignment during the blending process.
- Remote Shutter Release: Using a remote shutter release eliminates any potential camera shake caused by manually pressing the shutter button.
- Software: Invest in post-processing software specifically designed for merging and tonemapping bracketed shots.
Now, let’s visualize these components through a table:
| Equipment | Description |
|---|---|
| Camera | Digital camera capable of bracketing shots |
| Tripod | Sturdy support for stable positioning |
| Remote Shutter Release | Device used to trigger the shutter without touching the camera |
| Software | Post-processing software for merging and tonemapping |
By carefully selecting the right equipment, you set yourself up for success when venturing into HDR photography within your studio environment. In our next section, we will explore how you can optimize your physical space to maximize your creative possibilities while setting up your studio for HDR photography. So, let’s move on to the next step: “Setting Up Your Studio for HDR.”
Setting Up Your Studio for HDR
you have set up your studio perfectly, with all the necessary lighting and props in place. You are ready to capture stunning images that truly bring out the dynamic range of your subjects. But how exactly can you achieve those eye-catching results? The answer lies in understanding and effectively implementing exposure bracketing.
Exposure bracketing involves capturing multiple shots at different exposures, which are then blended together during post-processing to create a final image with enhanced details and tonal range. By using this technique, photographers can overcome challenges posed by high contrast scenes, where highlights may be overexposed or shadows underexposed. Let’s explore some key considerations when it comes to mastering exposure bracketing:
-
Understanding Your Camera’s Bracketing Function: Familiarize yourself with your camera’s bracketing capabilities. Different cameras offer various options such as the number of shots per bracketed sequence and the exposure increment between each shot. Experiment with these settings to find what works best for your specific shooting conditions.
-
Choosing Appropriate Exposure Settings: It is essential to select appropriate exposure settings for each shot within your bracketed sequence. This means ensuring that no part of the scene is excessively overexposed or underexposed in any individual frame. Aim for a well-exposed middle frame and adjust accordingly based on your subject and desired outcome.
-
Utilizing Tripods and Remote Shutter Release: To maintain consistency across frames, use a sturdy tripod to eliminate unwanted camera movement between shots. Additionally, employing a remote shutter release will further minimize any potential vibrations caused by manually pressing the shutter button.
| Pros | Cons |
|---|---|
| – Enhanced dynamic range- Increased detail in highlights and shadows- Greater control over tonal values | – Longer shooting time- More complex post-processing- Potential for ghosting artifacts if subjects are moving |
Incorporating exposure bracketing techniques into your studio photography practice can significantly elevate the overall quality of your images. By capturing multiple frames at varying exposures, you ensure that no detail is lost in challenging lighting situations. This approach allows you to create visually striking photographs with enhanced dynamic range and precise tonal values.
To fully maximize the potential of exposure bracketing, it is crucial to understand how to effectively set up your camera and optimize your settings for this technique.
Mastering Exposure Bracketing
Transitioning from the previous section on setting up your studio for HDR, let’s delve into the next crucial aspect of mastering this technique: understanding HDR photography itself. To illustrate its significance, imagine a scenario where you are capturing a landscape photograph with vibrant colors and intricate details. However, due to the limitations of traditional photography techniques, either the bright sky is overexposed or the shadows in the foreground lack detail. This is where HDR photography comes into play.
To begin exploring HDR photography, it is essential to grasp its underlying concept. High Dynamic Range (HDR) imaging allows photographers to capture a wider range of tones by combining multiple exposures of an image taken at different exposure settings. By merging these exposures using specialized software, such as Adobe Photoshop or Photomatix Pro, photographers can create final images that showcase both highlights and shadows with exceptional clarity and detail.
Here are some key considerations when practicing HDR photography:
- Exposure bracketing: One fundamental technique used in HDR photography is exposure bracketing. This involves capturing multiple frames of an image at varying exposure levels—typically one underexposed shot for preserving highlight details, one correctly exposed shot as a reference point, and one overexposed shot to retain shadow information.
- Tripod stability: Since you will be capturing multiple shots with slight differences in exposure values, maintaining tripod stability becomes imperative to ensure precise alignment during post-processing.
- Patience and experimentation: Achieving desirable results requires practice and experimentation. It may take several attempts to find the right balance between exposure settings that best suit the subject matter and desired outcome.
- Post-processing workflow: Once you have your set of bracketed exposures, post-processing plays a vital role in creating compelling HDR images. Utilize specialized software capable of merging brackets while offering control over adjustments like tone mapping and color saturation.
By comprehending the fundamentals behind HDR photography and implementing effective techniques such as exposure bracketing along with proper post-processing workflow, photographers can achieve stunning images that capture the full dynamic range of a scene.
Now that we have established a solid foundation in understanding HDR photography, let’s move on to exploring the intricacies of processing HDR images.
Processing HDR Images
In the previous section, we explored the technique of exposure bracketing and how it allows photographers to capture a wider dynamic range in their images. Now, let us delve into the process of tone mapping, an essential step in creating high dynamic range (HDR) photographs.
To illustrate the significance of tone mapping, consider this scenario: Imagine capturing a landscape photograph during sunset where you have vibrant colors in the sky but also want to retain details in the shadows of nearby trees. By employing tone mapping techniques, such as local adaptation or global operator methods, you can preserve both the rich hues of the sky and the intricate textures within darker areas. This example showcases how tone mapping helps achieve a visually balanced image that accurately represents what our eyes perceive.
When applying tone mapping techniques to your HDR photographs, keep these key considerations in mind:
- Preserving naturalness: Aim for a final result that maintains realism by avoiding excessively saturated colors or unrealistic contrast enhancements.
- Balancing highlights and shadows: Strive for a harmonious balance between bright highlights and deep shadows to create a well-rounded visual appeal.
- Enhancing details: Utilize appropriate algorithms that enhance fine details without introducing artifacts or noise into your images.
- Adjusting overall tonality: Fine-tune your image’s overall tonal values to ensure cohesiveness and convey the desired mood effectively.
Table: Common Tone Mapping Techniques
| Technique | Description |
|---|---|
| Local Adaptation | Applies different adjustments locally based on luminance levels |
| Global Operator | Employs a single algorithm across the entire image |
| Exposure Fusion | Blends multiple exposures together using various weighting schemes |
| Contrast Adjustment | Modifies global contrast settings throughout the image |
Remember that mastering tone mapping requires practice, experimentation, and refining your artistic vision. As you become more proficient with these techniques, you will gain a deeper understanding of how to utilize HDR photography to its fullest potential.
Transitioning into the subsequent section, “Enhancing Creativity with HDR,” we will explore advanced methods and creative approaches that allow photographers to push the boundaries of their artistic expression. By combining these techniques with your newfound knowledge of tone mapping, you can elevate your studio photography to new heights.
Enhancing Creativity with HDR
Moving forward from the processing of HDR images, we now delve into exploring techniques for enhancing creativity with HDR. By harnessing the power of high dynamic range photography, studio photographers can unlock new possibilities and express their artistic vision like never before.
One example that showcases how HDR photography can enhance creativity is through the capture of intricate details in a still life composition. Consider a hypothetical scenario where a photographer aims to create an ethereal image featuring delicate flowers against a dark backdrop. With traditional photography techniques, capturing both the vibrant colors of the flowers and the subtle shadows would be challenging. However, by utilizing HDR techniques, the photographer can bring out rich tonal ranges and accentuate every intricate detail, resulting in a visually captivating image that evokes emotions in viewers.
To effectively utilize HDR for creative purposes in studio photography, it is essential to consider key elements such as:
- Lighting Control: Experiment with different lighting setups to emphasize textures and shapes within your subject matter.
- Color Manipulation: Utilize color grading techniques during post-processing to evoke specific moods or convey narratives.
- Composition Techniques: Explore unconventional angles or perspectives to add visual interest and engage viewers.
- Post-Processing Tools: Familiarize yourself with software applications that offer advanced editing capabilities specifically tailored for HDR imagery.
| Key Elements | Description |
|---|---|
| Lighting Control | Experiment with various light sources and modifiers |
| Color Manipulation | Apply selective adjustments to evoke desired emotional responses |
| Composition Techniques | Incorporate unique viewpoints and framing concepts |
| Post-Processing Tools | Utilize specialized software tools designed for handling HDR images |
By incorporating these elements into your workflow, you can push the boundaries of creativity within your studio photography practice using HDR techniques.
In summary, this section has explored how embracing HDR technology allows photographers to infuse their work with enhanced creativity. Through careful consideration of lighting, color manipulation, composition techniques, and utilizing post-processing tools designed for HDR images, photographers can create visually compelling imagery that connects with viewers on an emotional level. With the right technical skills and artistic vision, HDR photography opens up a world of possibilities for studio photographers to express themselves in innovative and impactful ways.
Comments are closed.